
BBST
BSST Team | ZWU
2024.6
Course → Interface Application Programming
1.Processing
Processing Code
1
2
3
4
5
6
7
8
9
10
11
12
13
14
15
16
17
18
19
2
3
4
5
6
7
8
9
10
11
12
13
14
15
16
17
18
19
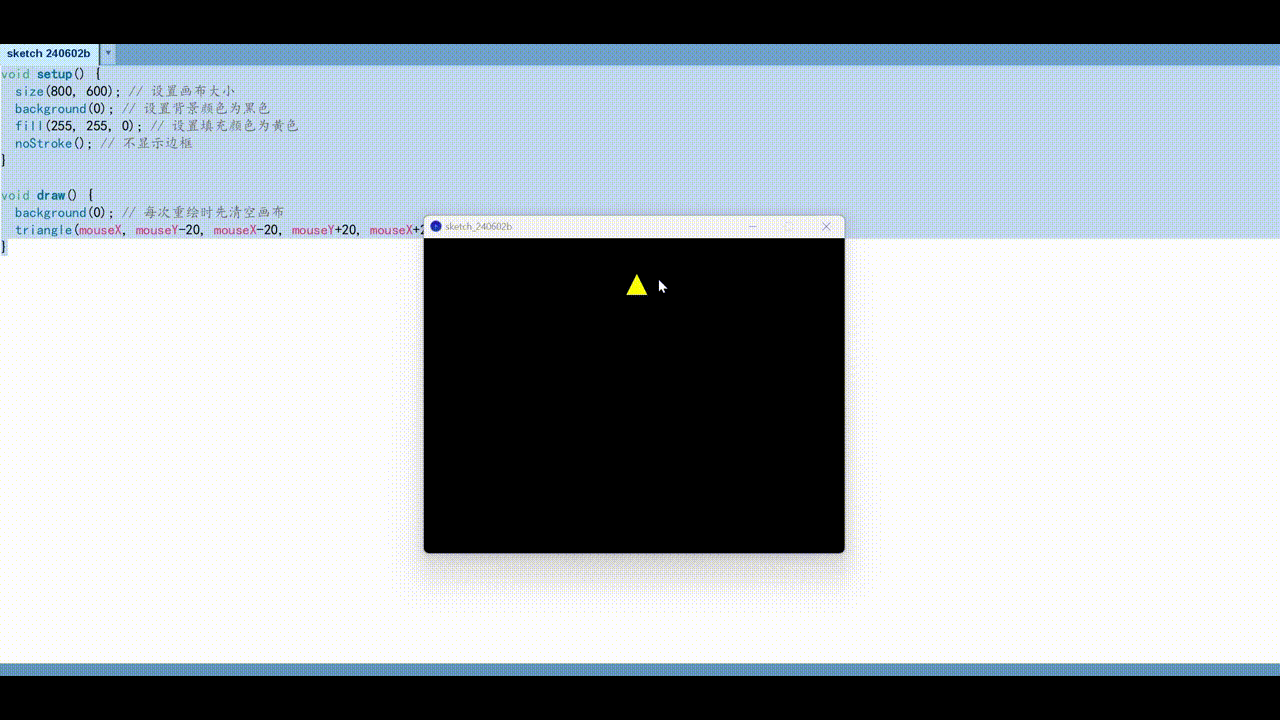
Void
setup
() {
Size ( 800 , 600 ); // Set the canvas size
Background ( 0 ); // Set the background colour to black
Fill ( 255 , 255 , 0 ); // Set the fill colour to yellow
noStroke (); // No border displayed
}
Void draw () {
Background ( 0 ); // Empty the canvas every time you redraw
triangle (mouseX, mouseY - 20 , mouseX - 20 , mouseY + 20 , mouseX + 20 , mouseY + 20 ); // Draw a triangle, and the vertex follows the mouse position
}
Effect display
1.Processing


Processing Code
Effect display
Arduino Code
1
2
3
4
5
6
7
8
9
10
11
12
13
14
15
16
2
3
4
5
6
7
8
9
10
11
12
13
14
15
16
import
processing.serial.
*
;
// 导入串行通信库
Serial myPort; // 创建一个Serial对象
int sensorValue = 0; // 存储传感器的值
void setup() {
size(800, 600); // 设置画布大小
myPort = new Serial(this, Serial.list()[0], 9600); // 打开与Arduino的串行连接
}
void draw() {
if (myPort.available() > 0) { // 如果有可用的数据
sensorValue = myPort.read(); // 读取数据
}
background(0); // 清空画布
ellipse(width/2, height/2, sensorValue, sensorValue); // 根据传感器的值画一个圆形
}
1
2
3
4
5
6
7
8
9
2
3
4
5
6
7
8
9
int sensorPin
=
A0
;
// 将传感器连接到模拟引脚A0
void setup () {
Serial. begin ( 9600 ); // 设置串行通信的波特率
}
void loop () {
int sensorValue = analogRead (sensorPin); // 读取传感器的值
Serial. println (sensorValue); // 将传感器的值发送到串行端口
delay ( 1000 ); // 等待1秒
}
void setup () {
Serial. begin ( 9600 ); // 设置串行通信的波特率
}
void loop () {
int sensorValue = analogRead (sensorPin); // 读取传感器的值
Serial. println (sensorValue); // 将传感器的值发送到串行端口
delay ( 1000 ); // 等待1秒
}